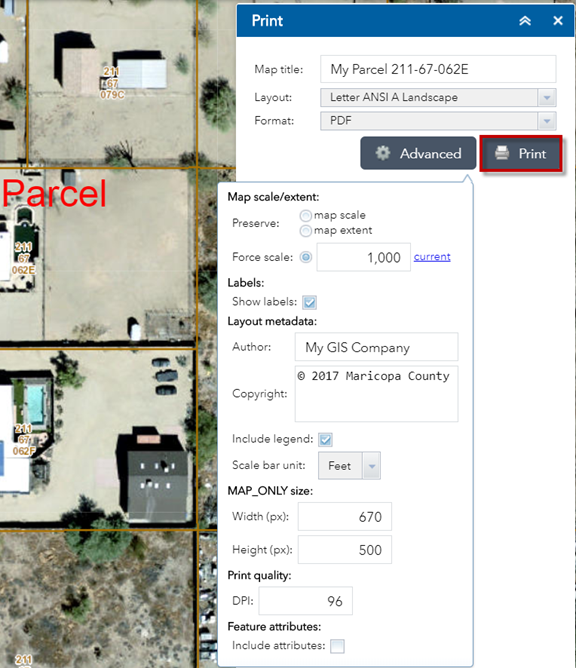
Advanced Print Settings
Click on the Advanced button.
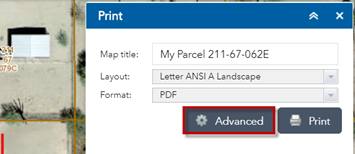
The opens additional settings that you can apply to your map.
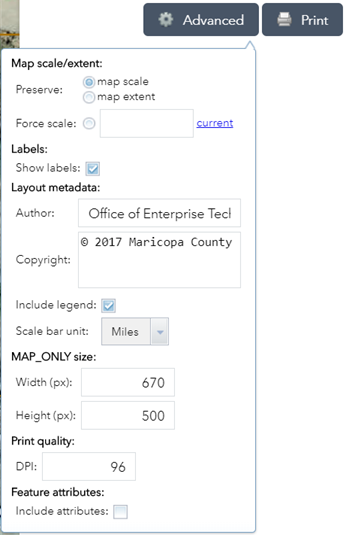
Notice, in your previous PDF, the scale was set to 1:1,128
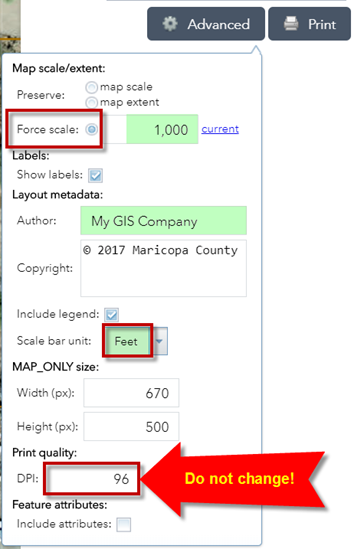
Check the Force Scale option.
Enter 1000
This sets the scale to 1:1,000
Change the Author = My GIS Company
Change Scale bar unit = Feet
Important!
Do not change the default DPI setting = 96 dots per inch.
This is the correct setting for your printer.
Anything higher will tie up the print server and take forever to generate your PDF.
Press Print
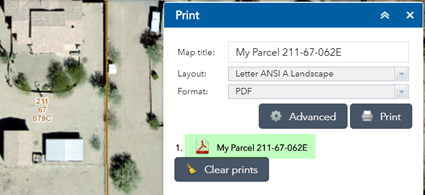
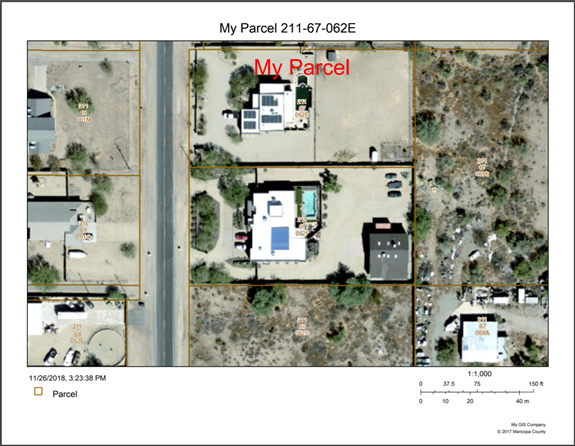
Your custom Map Scale and Author is shown in the new PDF.
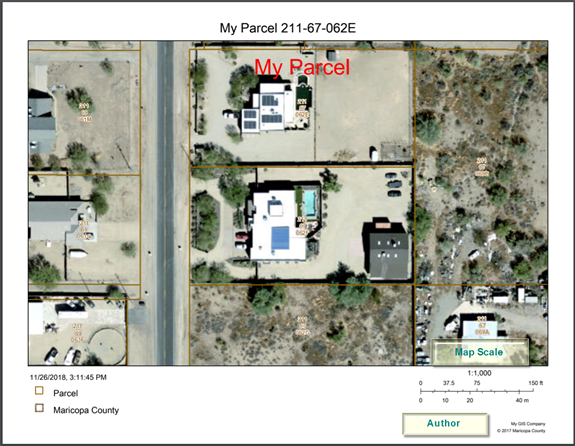
The graphical scale bar shows Feet instead of Miles.
Notice, there is a lot of extra information showing in the Legend.
All you really need is the legend for the Parcel boundaries.
How do you remove the rest?
Open the Legend Widget
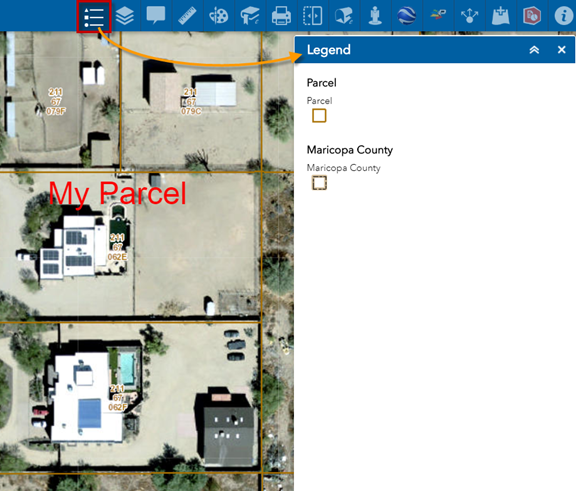
Space permitting, the Map Legend attempts to show everything that appears under the Legend Widget.
Turn off the unnecessary layers before you print the PDF.
Open the Layer List Widget.
Turn off this Layer:
-
Maricopa County

Open the Legend Widget
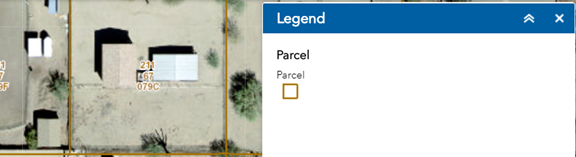
This looks good.
Open the Print Widget and print a map.
This is your final Parcel Map with a clean legend.
Where is the North Arrow?
The map is always printed with the North facing up.
The North Arrow is implied.
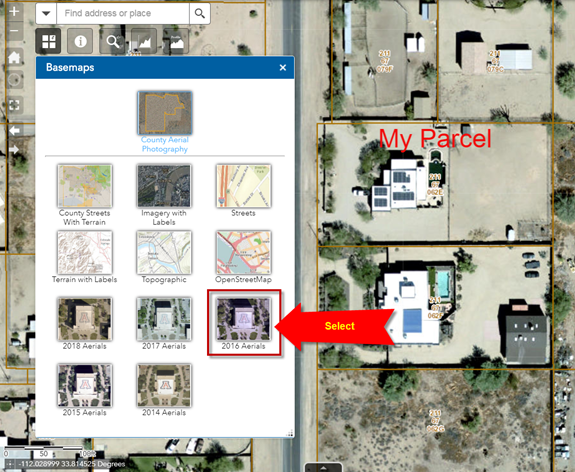
You can select a different basemap to see how the structures within your Parcel changed over the years.
Select the 2016 Aerial Imagery from the Basemaps Widget.
There were no solar panels installed in year 2016.
Change the Map Title = My Parcel 2016
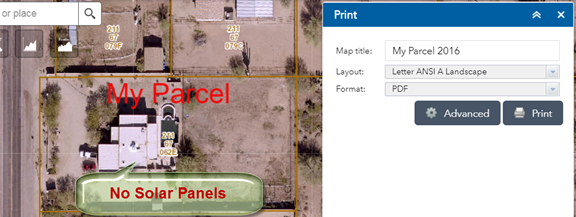
Print the PDF
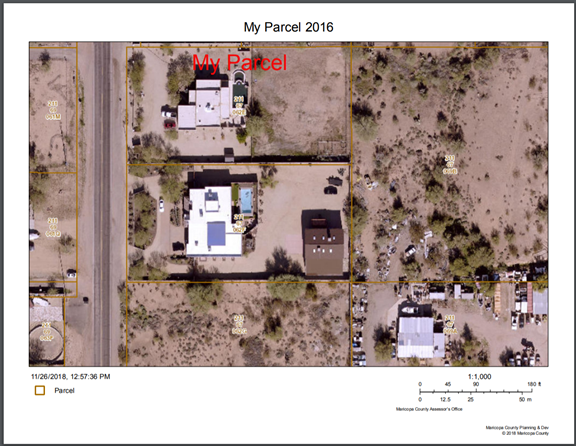
Notice, the building is not quite centered in the map.
How can you center the building in the PDF Map?
Hold down your <Shift> Key and click on the building.
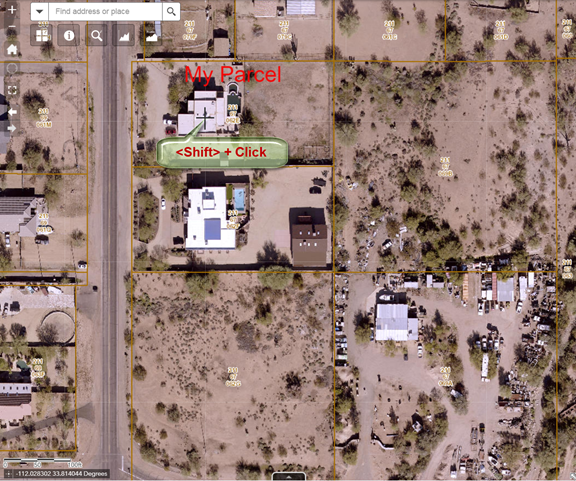
This centers the building on the Map.

Print the Map
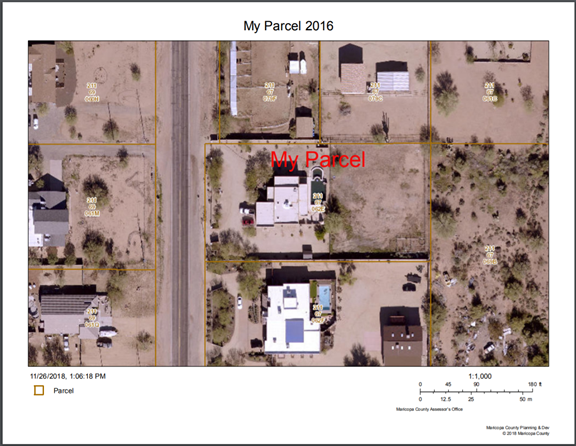
The building now appears perfectly centered in the PDF Map.
Remember to center your study area before using the Print Widget!